Quick Tips: Case/Person Files
Hide/Show Feature
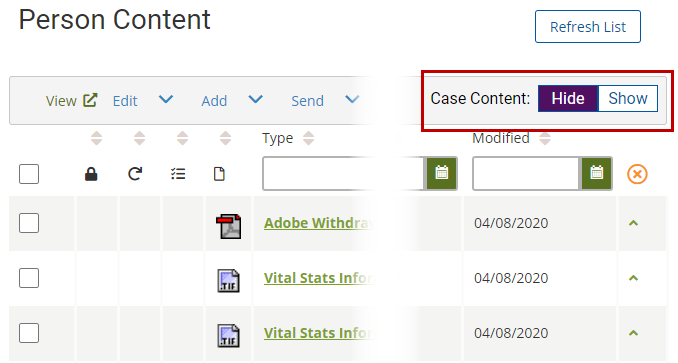
You can hide or show certain items in lists. Currently, you can hide or show the following items:
- Person-based content in the case content list
- Case-based content in the person content list
- Person-based history on the Case History page
Click either Hide or Show. The selected option has white type with a dark background.
ICN Viewer Login
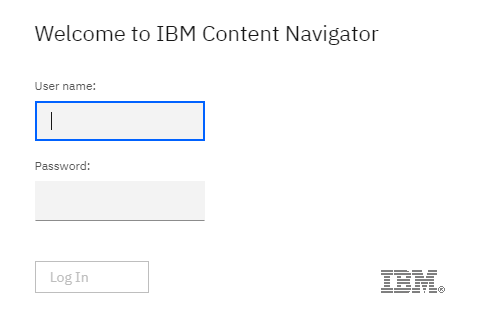
When viewing documents, you may be prompted to log in to the IBM Content Navigator (ICN) viewer at least once a day. If you usually open multiple items at once, we recommend opening them one a time until you have logged into the viewer. If you forget and are prompted multiple times, either log in at each prompt OR close the items and reopen them after you’ve logged in once.
View Content Side by Side
Did you know you can view content or documents side-by-side? You can even view the content list and content (such as a document) at the same time! Here’s how:
- Click one of your open document tabs and drag the tab into the middle of your screen. (You don’t have to drag too far.)
-
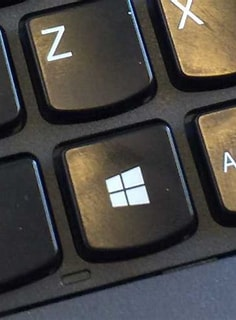
Hold down the Windows logo key on your keyboard, and then press the left arrow key to snap the document to the left half of your screen or press the right arrow key to snap the document to the right half of your screen. Release the Windows logo key.
- Any other tabs you have open in your browser are shown in mini windows on the opposite half of the screen. From those mini windows, click the other document you want to view (or the content list!) to snap it to the other half of the screen. You should now have two pieces of content side by side on your screen!
-
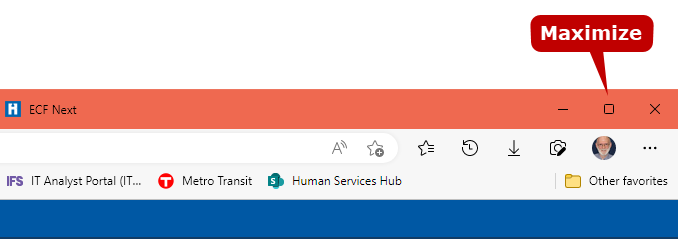
To make either piece of content you are viewing side by side fill the entire screen again, just click the Maximize button in the upper right corner.
Access Downloads
Some functions require you to download documents. You can access your downloaded items in two ways:
-
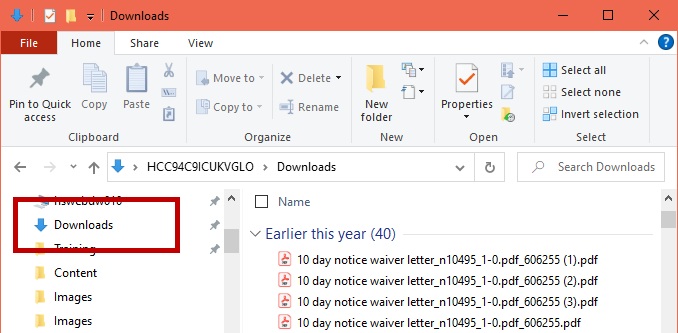
Open File Explorer (icon typically found on taskbar), and click the Downloads folder in the navigation pane.
-
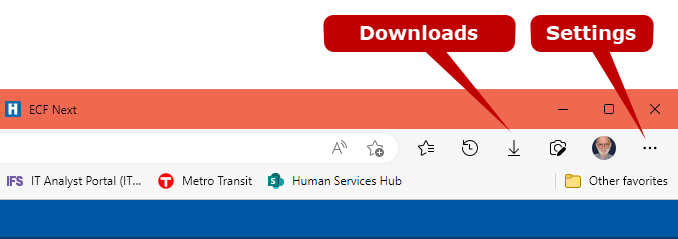
Click the Downloads button (down arrow on browser toolbar). Don’t see this button? Click the Settings button (three dots at top right) to open your Edge settings. Right-click Downloads in the list and make sure Always show on toolbar is selected. You should then see the Downloads button on your toolbar!
Reduce Clicks When Downloading Documents
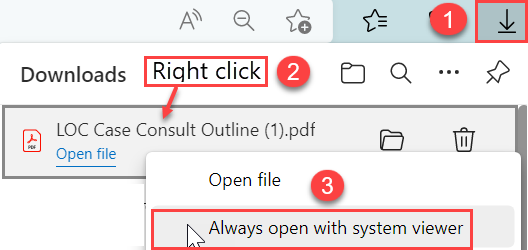
Some functions require you to download documents. To reduce clicks, set downloads to Always open with system viewer. Here’s how:
- Click the Downloads button (down arrow on browser toolbar).
-
In the list of downloads, right-click a document.
-
Choose Always open with system viewer.
Clear Your Downloads Folder Frequently
Some functions require you to download documents. These documents are typically saved to your Downloads folder. Frequently clearing out documents from this Downloads folder ensures that you are selecting the correct file to work with! To open your Downloads folder, open File Explorer, and click the Downloads folder in the navigation pane.

Edit Content While Signed Out
Content that is downloaded to be edited is saved to your Downloads folder, which is on your C: drive. This means you can continue working on edits even while you’re offline!
Save Early & Often
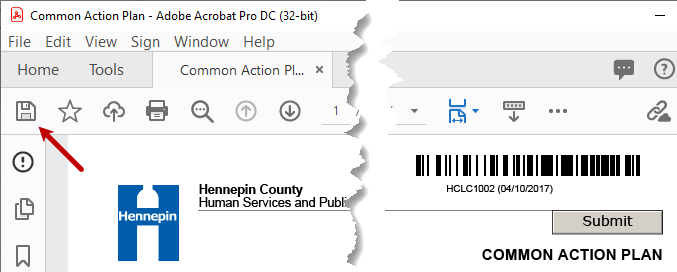
Editing content? Save early and save often to your Downloads folder by clicking File > Save or by clicking the Save icon. You only need to check in to ECF (or submit) when you’re ready or have completed your edits!
Save Early & Often
Creating a form from template? Save early and save often to your Downloads folder. You only need to check in to ECF (or submit) when you’re ready or have completed your edits!
Check In While Signed Out
You can check in forms with the Check In to ECF (or Submit) button even when you are not signed in! This means you can continue working and won’t lose work even if your session times out or you lose your Internet connection temporarily.
Drag & Drop to Upload Content
When uploading content, you can drag and drop content and you can add up 15 items at a time! For more information on how to upload content, see Upload Content in the user guide or watch the How to Upload Content training video.
Multiple Persons per Job
You can send person-related content associated with different case participants in the same mailing! For more information on how to send content, see Send Content in the user guide.
Multiple SMI IDs
If a client has been incorrectly assigned multiple SMI person IDs, you can modify properties to add the additional SMI IDs to the client’s person content items. When the multiple SMI IDs are merged into one, ECF automatically removes the unused SMI IDs from the content items.
Modify Multiple Properties Before Saving
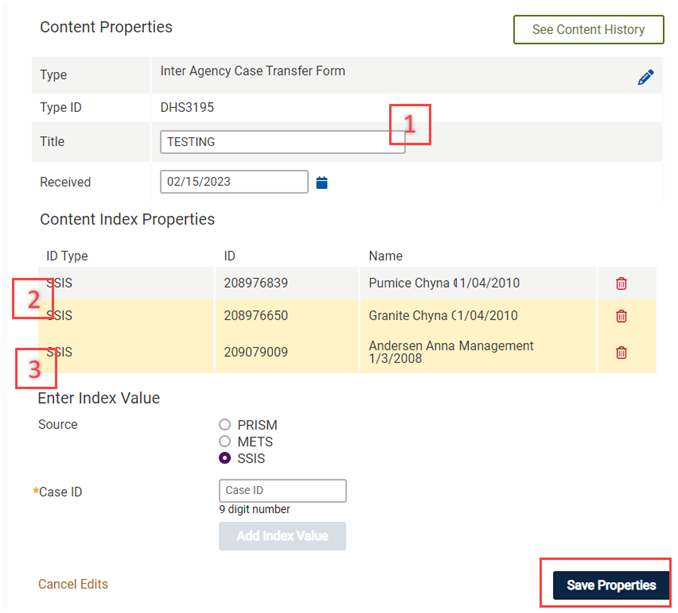
You can modify the title, modify the received date, and add multiple index values before clicking the Save Properties button. For example, you can modify the title and add two index values.
Many actions have a filter similar to the Show Content From filter to reduce the number of entries in the list. The default selection is My Favorites. You can select All or another filter.

